How to Make a Plinko Board: A Step-by-Step Guide
After its unveiling on The Price is Right in January 1983, Plinko erupted. To the surprise of many, this simple game that involves dropping a token at the top of a peg board and winning a prize based on where it lands, captivated viewers. The suspense that grows as the token plinks down the giant plinko board, and the excitement that follows when it lands in a slot, made Plinko the most famous of all the fun games featured on The Price is Right.
Since then, plinko boards have become a staple of events, ranging from trade shows to community celebrations and even backyard parties. These days, they are so popular that you can order custom golf ball plinko boards or multiple sized Plinko games from small to extra large decorated with your choice of graphics.
So, in the spirit of sharing the tantalizing randomness of plinko, here is a short guide on how to build a plinko board!
1. Prepare the Board Surface
A good game board is the first thing your DIY plinko game needs. The size of the custom plinko boards depend on how big you want your game to be.
Once you’ve gotten the right size MDF board or have cut your plywood to size and sanded down any rough edges, you want to make your board smooth so the tokens can slide down. You can either spray paint its surface with glossy paint or glue on a marker board. Both work.
2. Place the Pegs
Properly spacing your plinko pegs is key. The size of your tokens will dictate the size of the gaps between your pegs. The gaps have to be large enough for your token to fit through. When you’ve determined the size you need, mark where the first row of pegs will go.
For the next row, use the same spacing, but this time ensure the pegs fall in the middle of the gaps above. Continue this process down the board, leaving space at the bottom for your slots. Be careful, if your spacing is too large, the tokens will fall to the slots in a straight line; too small, and they will get stuck.
Next, add the pegs where you’ve marked. If you used a marker board, pre-drill holes in the board and hammer in dowel rods. If you spray painted your plywood, hammer in finishing nails instead.
3. Cut and Attach the Frame
All sides of the board must be framed, except the top edge. It must be left open because that’s where the tokens will be dropped from. Cut the bottom piece of the frame to be the length of the bottom of the board, plus the width of your frame on each side. Next, cut your left and right frame edges to the appropriate length.
Afterward, use a miter box to create 45-degree angles on the ends of the bottom frame piece. Repeat this with the ends of the left and right frame pieces that will be joined to the bottom piece. Then attach them to the board, securing them with wood glue and brad nails.
4. Make and Attach Slots
Using a spade drill bit on the piece of wood you’ve selected for your slots, drill holes according to the spacings of your last row of pegs. Cut your piece of wood across the middle of these holes, creating your open slots, and stick your slots on to the bottom of the board.
5. Add Legs
A plinko board works best at an angle, as this allows the tokens to slide down the easiest. You must therefore create two legs that allow your board to stand alone at an angle.
Cut and attach two legs at the back of the board on the inside of the frame. Add a thin horizontal lat across the legs to join them together. Then attach a small chain to the lat and the back of the board to prevent the legs from sliding outward.
There You Have It!
Your DIY plinko board is now ready for some backyard fun! Grab your tokens, some cool prizes, and let the games begin!
If building your own plinko board isn’t your cup of tea, no need to worry! Get one of our many options of Plinkos. We can even customize it with your graphics, logos or text and bring the fun to your next event!
More Articles
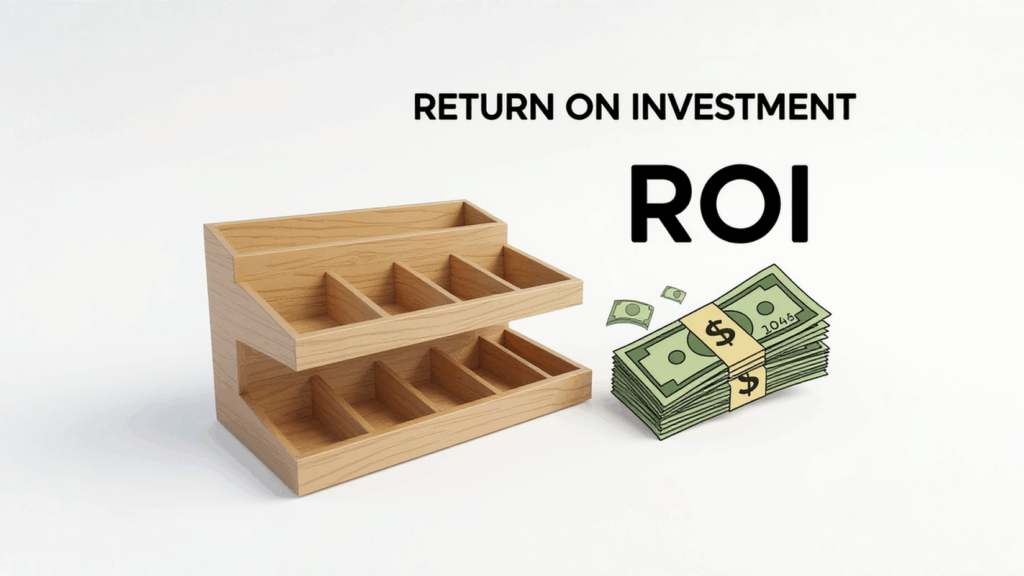
How to Measure Countertop Display ROI
Learn how to measure the ROI of countertop displays using data, sales lift, and proven strategies to maximize marketing impact…

How to Attract Shoppers to Interactive Kiosks
Discover how interactive kiosks boost sales, enhance customer experiences, and gather valuable data to transform your retail strategy.
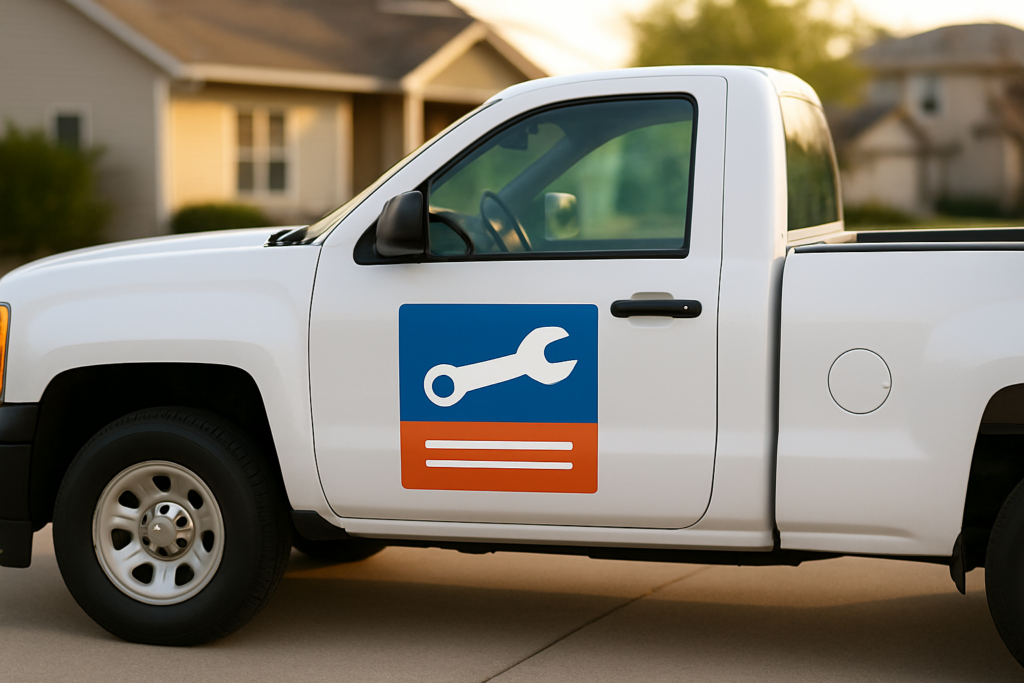
How Much Do Magnetic Signs Cost? 2026 Pricing Guide for Vehicle & Business Signage
Magnetic signs cost $15-$175 based on size and quality. Get real pricing for vehicle magnets and fleet orders, plus what…